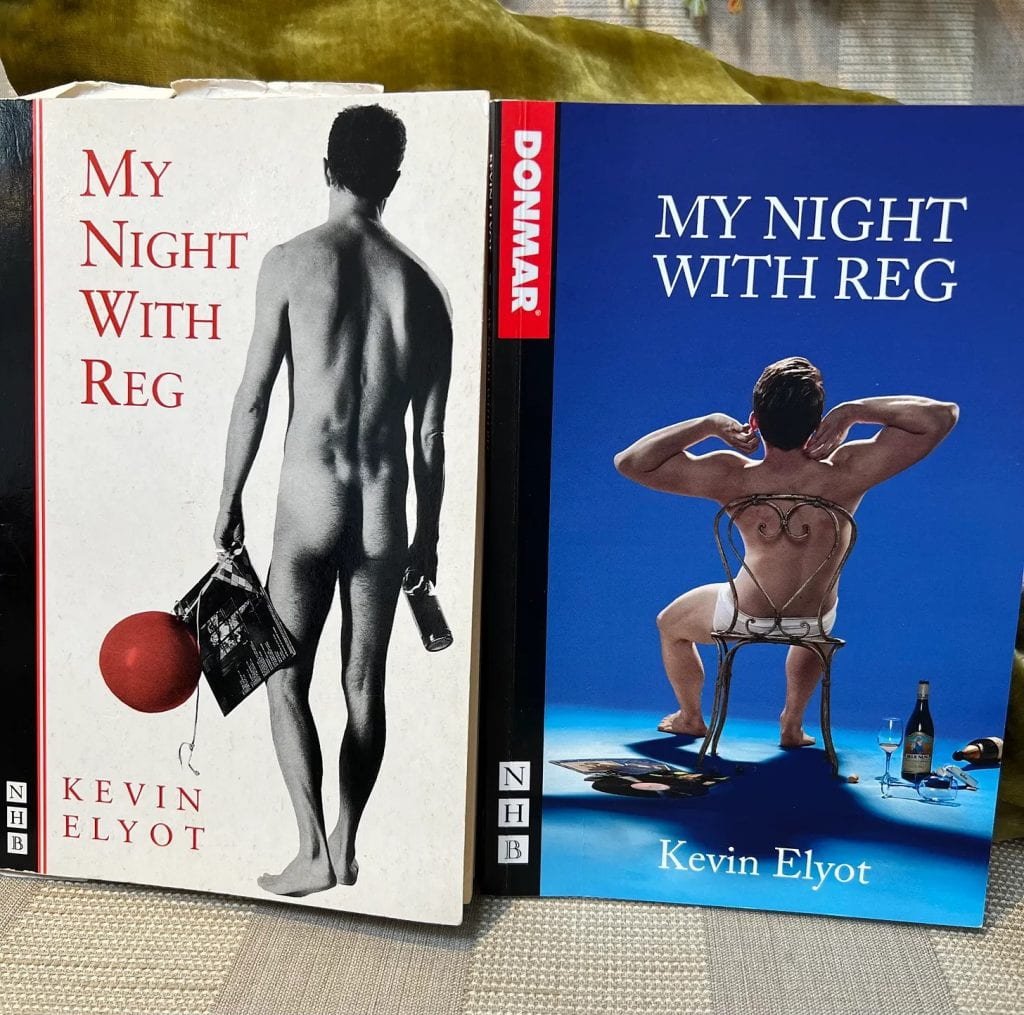
As the Kevin Elyot Award writer-in-residence at the University of Bristol Theatre Collection, I have spent time researching the papers of the playwright and screenwriter Kevin Elyot (1951-2014). Here is my fourth article in response to Elyot’s archive, in which I discuss his third play – my favourite Elyot play – The Day I Stood Still. A general reflection on Elyot is here. My article on his debut Coming Clean (1982) is here. My article on his second and most famous play My Night with Reg (1994) is here.
It seems to me a lot of yearning goes on in your plays.
I think you’re right.
[…] It’s very obvious in My Night with Reg, isn’t it, where this poor guy has been living for God knows how many years on this moment where something could have happened that didn’t.
You should read The Day I Stood Still!
Kevin Elyot interviewed by Harriet Devine in 20051
The post-Reg syndrome
Sebastian Born, Elyot’s agent, told me how Rickson came to be the director:
Kevin was always cautious about to whom he would entrust his work and neither of us had seen anything directed by Ian. So we went to the spellbinding first preview of his production at the Ambassadors [Theatre] […] of a new play by an unknown Irish writer – The Weir [Conor McPherson]. Afterwards, Kevin didn’t say anything, just went up to Ian who was waiting in the foyer and said yes.2
Although The Day I Stood Still was well received – The Guardian thought it ‘an intelligent play about a common experience: the Proustian notion that the true paradise is the one that we have lost’ – there has been no major UK revival.3
It is possible that the much-acclaimed My Night with Reg has obscured Elyot’s other achievements: in 2014 The Telegraph thought so in a piece on theatrical ‘one-hit wonders,’ and recently a theatre producer I know of, when presented with the idea of The Day I Stood Still, responded, ‘I can’t sell that, but I can sell Reg.’4
Elyot himself told Veronica Lee in 2001,
I knew that Reg was always going to be a hard act to follow and the response would be more muted. I was anticipating the post-Reg syndrome and certainly never tried to cap it.5
It is a shame The Day I Stood Still is somewhat forgotten, because with it, in my view, Elyot did cap My Night with Reg. This beautifully constructed Chekhovian meditation on our yearning for youth as we age, and on the exquisite pain of unrequited love, is the apotheosis of Elyot’s career as a dramatic poet.

The play: that awful moment
Horace loved Jerry – and just how immobilising this love has been is explored as the play jumps forward to 1996, when the 17-year-old Jimi visits Horace; then back to 1969, when Horace, Jerry and Judy are 17 and have the world at their feet.
The ‘crux,’ to use Elyot’s own word in his papers at the University of Bristol Theatre Collection, comes on that day in 1969.6 While the Jimi Hendrix-obsessed Judy dozes (she’s drunk half a bottle of Dimyril), the talented pianist Jerry, stoned and with the munchies, shares a Mars Bar with Horace. ‘Go with a girl,’ Jerry says,
It’ll change your life.
HORACE (coping with Mars in the mouth): But I don’t want to! You must know that! I want to do it … I want to do it with you. Sorry.
Beat.
JERRY: You’ll meet loads of people.
HORACE: Yes, I might –
JERRY: Loads.
HORACE: But that wouldn’t change – doesn’t change – what I feel.
JERRY: There’ll be someone else.
HORACE: No, I don’t think there will.
They look at each other, face to face. Pause. For a second, they seem to get fractionally closer.
JUDY (coming round, in a strong Birmingham accent): Fucking beautiful!
HORACE and JERRY’s moment is broken.
JUDY: I fucking love you, Jimi!7
This turning point was sketched by Elyot in one of his notebooks for the play:
[Horace] can’t rid himself of Jerry, whereas Jerry’s on verge of moving on (with girls / Judy). THAT awful moment when when [sic] you realize someone’s developed, moving on to next stage, + you’re still in the same place. **THIS CRUCIAL.8
By the time we get to this ‘awful moment’ in the play’s third scene, we know the Horace of 1983 and 1996, so we know that he’s right when he says there’ll be no one else (and that he will always have an unhealthy relationship with Mars Bars).
In the opening 1983 scene, a masterclass in the art of subtle dramatic exposition, Judy captures Horace’s character in two crisp insults. Concerning the flat, which he inherited from his parents and which has seen better days, she says, ‘You’ll take root.’9 Upon learning he is still in the same job – in a museum, if the point that he is one of life’s museum pieces has been missed – she says, ‘You’ll ossify’.10
As a character, Horace never ossifies because Elyot’s three scenes are always alive with promise, danger and poignancy. In 1996, the arrival of the 17-year-old Jimi, AWOL from boarding school after being rejected by a boyfriend (a story that mirrors Horace and Jerry’s), ignites in Horace a sense of godfatherly responsibility and transgressive possibility – as well as stirring nostalgia. ‘There was one day,’ he reflects, after Jimi asks about the father Jimi never knew,
one day we had – when I met your mother, actually – which was sort of complete. One of those moments in life when you realise, ‘Ah, that’s what it’s like to be happy.’ […] When I’m dying, it’s that moment that’ll make me think it was all worthwhile. My life crystallized in the memory of a moment. It was like we were outside time.11
In 1969, this idyll of youth – ‘idyll’ is Elyot’s own descriptor for the scene – is vitalised by youth’s romanticism, then destroyed by youth’s unthinking cruelty when Jerry goes off with Judy.12 His act, ‘that awful moment,’ paralyses Horace forever. And yet – partly thanks to the scene with Jimi, partly to a subplot involving interrupted sex with a prostitute – Horace’s life always feels on the verge of movement, of something ‘worthwhile.’ Elyot pulls off a sophisticated trick: dramatic momentum in a play about inaction.

The painful craft of playwriting: leitmotifs, irony, coincidence
This is inevitably affecting – the dreams of youth look pitiable when we know they won’t come true – and our feeling for the characters as subjects of Time is intensified by Elyot’s careful orchestration of leitmotifs, of recurring themes and artefacts. The Mars Bars are like Proust’s madeleines: they – along with a perilously rickety chair, a chain Jerry gives to Horace, and the Beethoven Jerry plays on Horace’s piano – keep reappearing, building into a kind of symphony of memory and irony.
At the centre is the most ironic thing of all, a Wildean tragedy: Horace kills the thing he loves. In 1969, Jerry suggests to Horace he ‘could write a novel.’14 He does, and thirteen years later, sends Jerry a copy. This is the cause of Jerry’s death: he gets blood-poisoning after nicking his finger on ‘the silvery thing […] holding together [the] manuscript.’15
Elyot loved coincidence, and arguably this is a coincidence too far; perhaps Alastair Macaulay in the Financial Times thought so when he objected to the play’s ‘excessive neatness.’16 Yet as contrived as Horace’s (accidental) complicity in Jerry’s death is, it is so subtly embedded into the play’s texture, and so tragicomically right for both the hapless Horace and the romantic Jerry, that it works.
I view it as a supreme piece of dramaturgical handiwork, and I found it fascinating to discover how this kind of elegant formal conceit, typical of Elyot, belies his unsystematic writing process. Notebooks in his archive scrawled with ideas support his comment to Rickson that
I started coming at The Day I Stood Still from several angles and made copious notes for a couple of years. Then little catalysts would happen – a photograph, a piece of music – and gradually I saw a pattern emerging.17
This was his method for all of his original plays: ‘you put pieces together over a length of time,’ he told Harriet Devine in 2005, ‘and shape something out of it.’18 My sense – and this is hardly a surprise to a writer – is that this process could be painful. On page one of the first The Day I Stood Still notebook he wrote, ‘“Vanya” as model,’ then, perhaps overwhelmed by his invocation of Chekhov, told himself, ‘DON’T TURN another play into an Everest!’ Later, his playwriting competition tormented him: ‘Pinter wrote play in 4 weeks!’ Elsewhere, he girded himself in the red pen he saved for his most important notes:
GET ON with play. DON’T tell anyone. Take them by surprise.19

An artist of survival
In Scene One, Judy tells Horace he should be ‘doing things and going places,’ but he responds,
I don’t want to. I’m fine as I am. I like this place, and I’ve got my music, my books, a friend or two. Honestly, Jude, I’m okay. I’m fairly happy.22
In his notes, Elyot quoted Clive James:
Beethoven wrote the Appassionata because he had no one to be passionate with – as any kind of artist, that’s your consolation.
and he reworked this into his play:
HORACE: What would I write a novel about?
JERRY: I don’t know. Love, death, murder, passion –
HORACE: I don’t have anyone to be passionate about, do I?
JERRY: That’s no excuse. Beethoven wrote the Appassionata and he had no-one to be passionate about.23
Outwardly, Horace is not an artist – the novel that kills Jerry is the only thing he ever writes. But in fact I think he is: he is an Artist of Survival, as we all must be if we are to live in this world. He survives on Mars Bars, that is, on his love for Jerry – even though that love is unreturned and Jerry is dead for two thirds of the play. He has no ambition, and returns over and over to ‘that awful moment’ when he stood still (Elyot considered the title Square One).24 Yet he is ‘fairly happy,’ and it’s hard not to admire a chap so cheerfully philosophical about life’s anti-climaxes:
I’m not that keen on travel, you know. I like watching travel programmes and I find that kind of enough. Going’s always a let-down, don’t you think?25
This is relatable, bittersweet stuff, and after he saw the play, the composer Gary Yershon wrote Elyot a letter in which he asked, ‘Ah, Kevin […] Who since Chekhov brings laughter and tears together as powerfully as you?’ He answered his own question: ‘No one. I am lost in admiration.’26
I would love to see a revival.