Theatre is a collaborative art form. It takes a whole team of people to take a play from page to stage. All too often though, we only pay attention to the people performing onstage. Those who work backstage go unseen by the audience, and it is difficult to know just what they do, and what career opportunities exist.
Using Bristol Old Vic’s archives held at the University of Bristol Theatre Collection, Making A Scene (funded by the Museums Association Digital Innovation and Engagement fund) aims to fill this knowledge gap by giving young people across Bristol the chance to peek behind the curtain….
These blogs, written by staff involved in the project from the University of Bristol Theatre Collection, Bristol Old Vic and Zubr, a Bristol based Augmented Reality and Virtual Reality studio, are a behind the scenes look at the process of creating this behind the scenes resource.
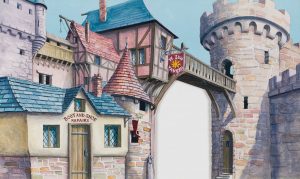
MODEL/84/001
The digitisation for the project started with me photographing the prompt script and some of the set designs for Babes in the Wood, including the beautifully drawn and painted backdrops and scenery. Using these photographs, some pre-existing digital content relating to the production and snapshots of additional archive items, Harriet from Bristol Old Vic then organised these image files into the different acts and scenes, and, with Amy from Zubr, began to make the decisions about which of the models might be useful to capture in 3D for the Making A Scene app.
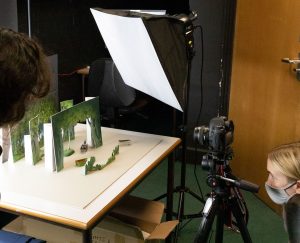
Setting up model box image with backdrops, scenery and model pieces
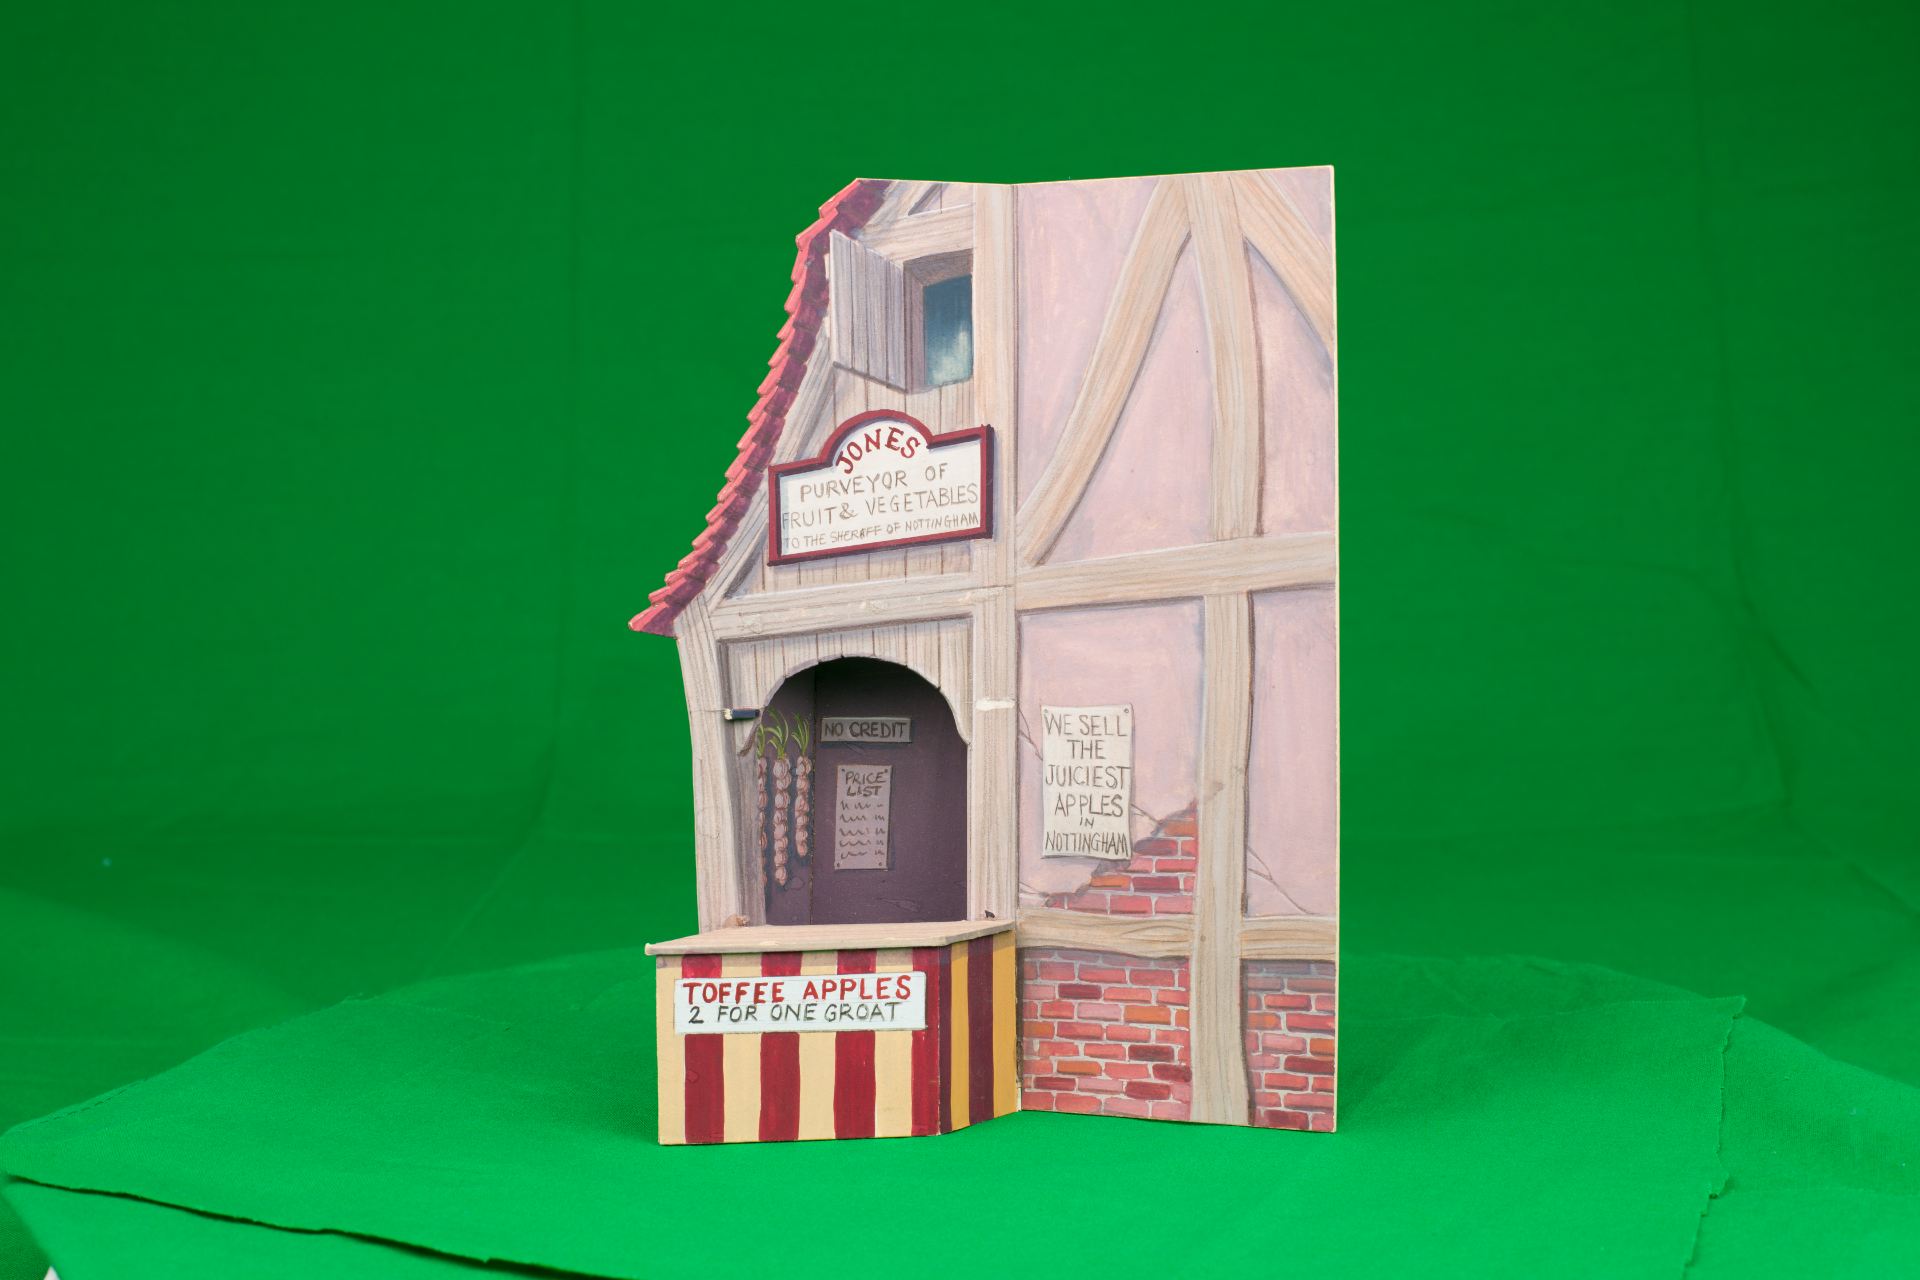
With the models brought back from the stores, I worked with another member of the Theatre Collection staff to carefully unpack the ones that had been selected for the project. It was great to see these wonderfully constructed models and the way they had been built with sturdy bases so they could stand, as well as the detail on them.
The next task was to start using photogrammetry to capture digital 3D versions of the models. From a series of photographs of the models, photogrammetry works by finding important features on the individual images which are then located on the other images. The software also identifies the camera positioning, which is used to make the 3D model surface. From our initial research and discussions, and first experiments using Agisoft – the photogrammetry software we have been using to create the 3D digital object from a sequence of photographs – we identified the work would need to go through the following stages:
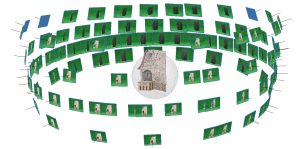
1. Capture images of the model using a camera and a green screen

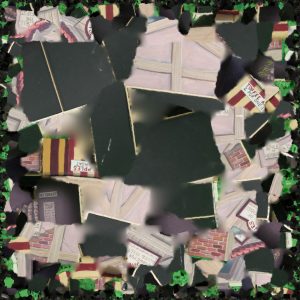
2. Organise these images ready to be used by the software and create digital ‘masks’ to mark the model out from the background, which avoids having to manually mask a large number of images

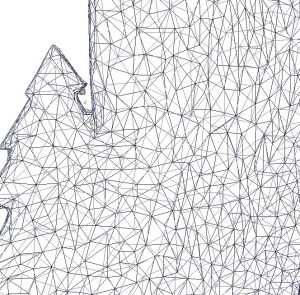
3. Complete the different stages in the software workflow, aligning the photographs to enable the ‘mesh’ required to create the object in 3D, before adding texture and colour
4. Visually check the model now constructed in 3D and make any adjustments so its ready to be exported for specific outputs
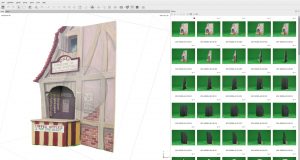
Screen grab of MODEL/84/[14]
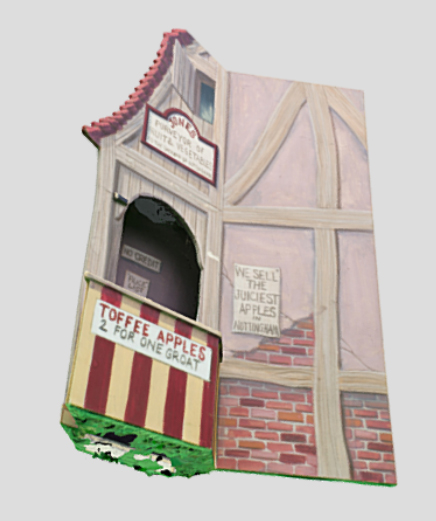
At first there were some issues to work through, but after some trial and error the first model was created where its now available to view in Sketchfab. It was exciting to see a digital version of the model I had been working with in the studio, with the ability to move it around on the screen so easily, being able to zoom into details and view it from different angles. This was so different to working with the original model which is very fragile as part of the stall panel is loose and extreme care needs to be taken when handling it. There were some issues that needed improving to make sure the digital version kept as much of the original model qualities as we could muster, but I was pretty pleased with the results.
As the project progressed and different models were captured different techniques were tested to see if the results of the 3D digital assets could be improved and match the originals more closely. One of the areas that was investigated was how to create the masks. Initially the models were photographed against the green screen but this left a slight green tint on the lighter parts of the digitised models. Later in the project a different method was tested to create the masks which allowed the model to be photographed against a white background. MODEL/84/[ 11] in Sketchfab was captured using this second masking approach. This reduced the green tint that can be seen on some of the models with lighter tones that would otherwise need to be manually removed from the model texture file in Photoshop.
It’s going to be interesting to see how Zubr begin to use these 3D models within the ‘app’. At the Theatre Collection we’re going to digitally preserve them so that they will be available to be used again after the project has finished.